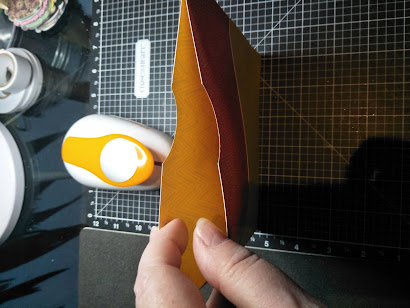
Good morning crafty friends, today I'm showcasing texture paste. Close To My Heart have stocked this product for a while now, but I have been really only dabbling in it until now.
Like most people I have a craft budget and everything I buy needs to have multiple uses. Also, I wasn't sure texture paste would fit my style, but I was wrong!
Let me tell you, I'm so in LOVE with texture paste. It is just so versatile, the effects are awesome and it is a budget friendly item to add to your craft supplies.
Let me show you how.
Here are the basic supplies, the texture paste and you will also need the Close To My Heart Palette Knives. I Also used quite a few baby wipes to clean the knives between uses and to clean my Versa Mat, I probably should have used our All Purpose Mat, as its much easier to clean, and I will next time.
I used some stencils to create raised patterns, on the cards, you don't have to have stencils however. I swiped the paste across the page to create a raised texture. The possibilities are endless in creating texture with pattern.
Have a play, put the texture paste on the palette knife and away you go. For the rectangle embellishments, see photo, I just masked off a piece of cardstock and then swiped over some texture paste. Once the texture paste was on the cardstock I just moved the palette knife across it in different ways to create different patterns.
I had a play mixing two mixed media products, I've added embossing powder to texture paste, what a stunning effect that has. I let the texture paste dry completely, and over night is best, then I just dabbled the versa mark on top of the texture paste, then I dusted the Copper Tinsel embossing powder on top. I'm so happy with the results. You know I love to make my own embellishments, I will be playing around with this technique and creating lots of unique embellishments to add to my cards and scrapbook pages. The possibilities are endless.
Tip: You will need to let the texture paste dry overnight so it's completely dry. Also if using on your scrapbook page, you will need to mat your photo.
I find the texture paste adds a great pop to layouts, awesome textured embellishments, and stunning cards.
What do you do with theses wonderful creations? I think the secret is to just have fun, play and create.
I've been busy making lots of crafty goodness. And Texture Paste is such a great investment to make for your crafty stash.
In the last two photos I've made a artwork to hang on my craft room wall. It was a fun little off the page project, and I think the texture paste really adds something different to the art.
If you would like to buy texture paste, or embossing powder, or simply come on over and have a look at all the beautiful craft products,please go to my website :juliemorrison.closetomyheart.com.au
You can place an order and get it sent directly to your door.
Email me on: juliespapercraft2020@gmail.com If you have any questions or would like help placing an order.
I hope you have learned something interesting in this blog. Comment below and let me know how you go.
Also comment if there is something you would like me to post about I will do my best to play and let you know the results.
Until next time, happy crafting.
Julie


